26 Jun 2025
|15 min
Rapid prototyping
Discover the power of UX rapid prototyping for validating and refining your product ideas quickly. Learn step-by-step techniques and tools to succeed.

Have you ever had an idea for a website or an app but didn't know where to start? There's nothing worse than working hard on an idea you believe in, only to find that the market you've aimed for doesn't want or need it. Plus, fear of failure this way can make you feel overwhelmed or scared to try.
So before diving head first into developing a fully functional product, the best approach is to build and test prototypes to help validate your idea before launch.
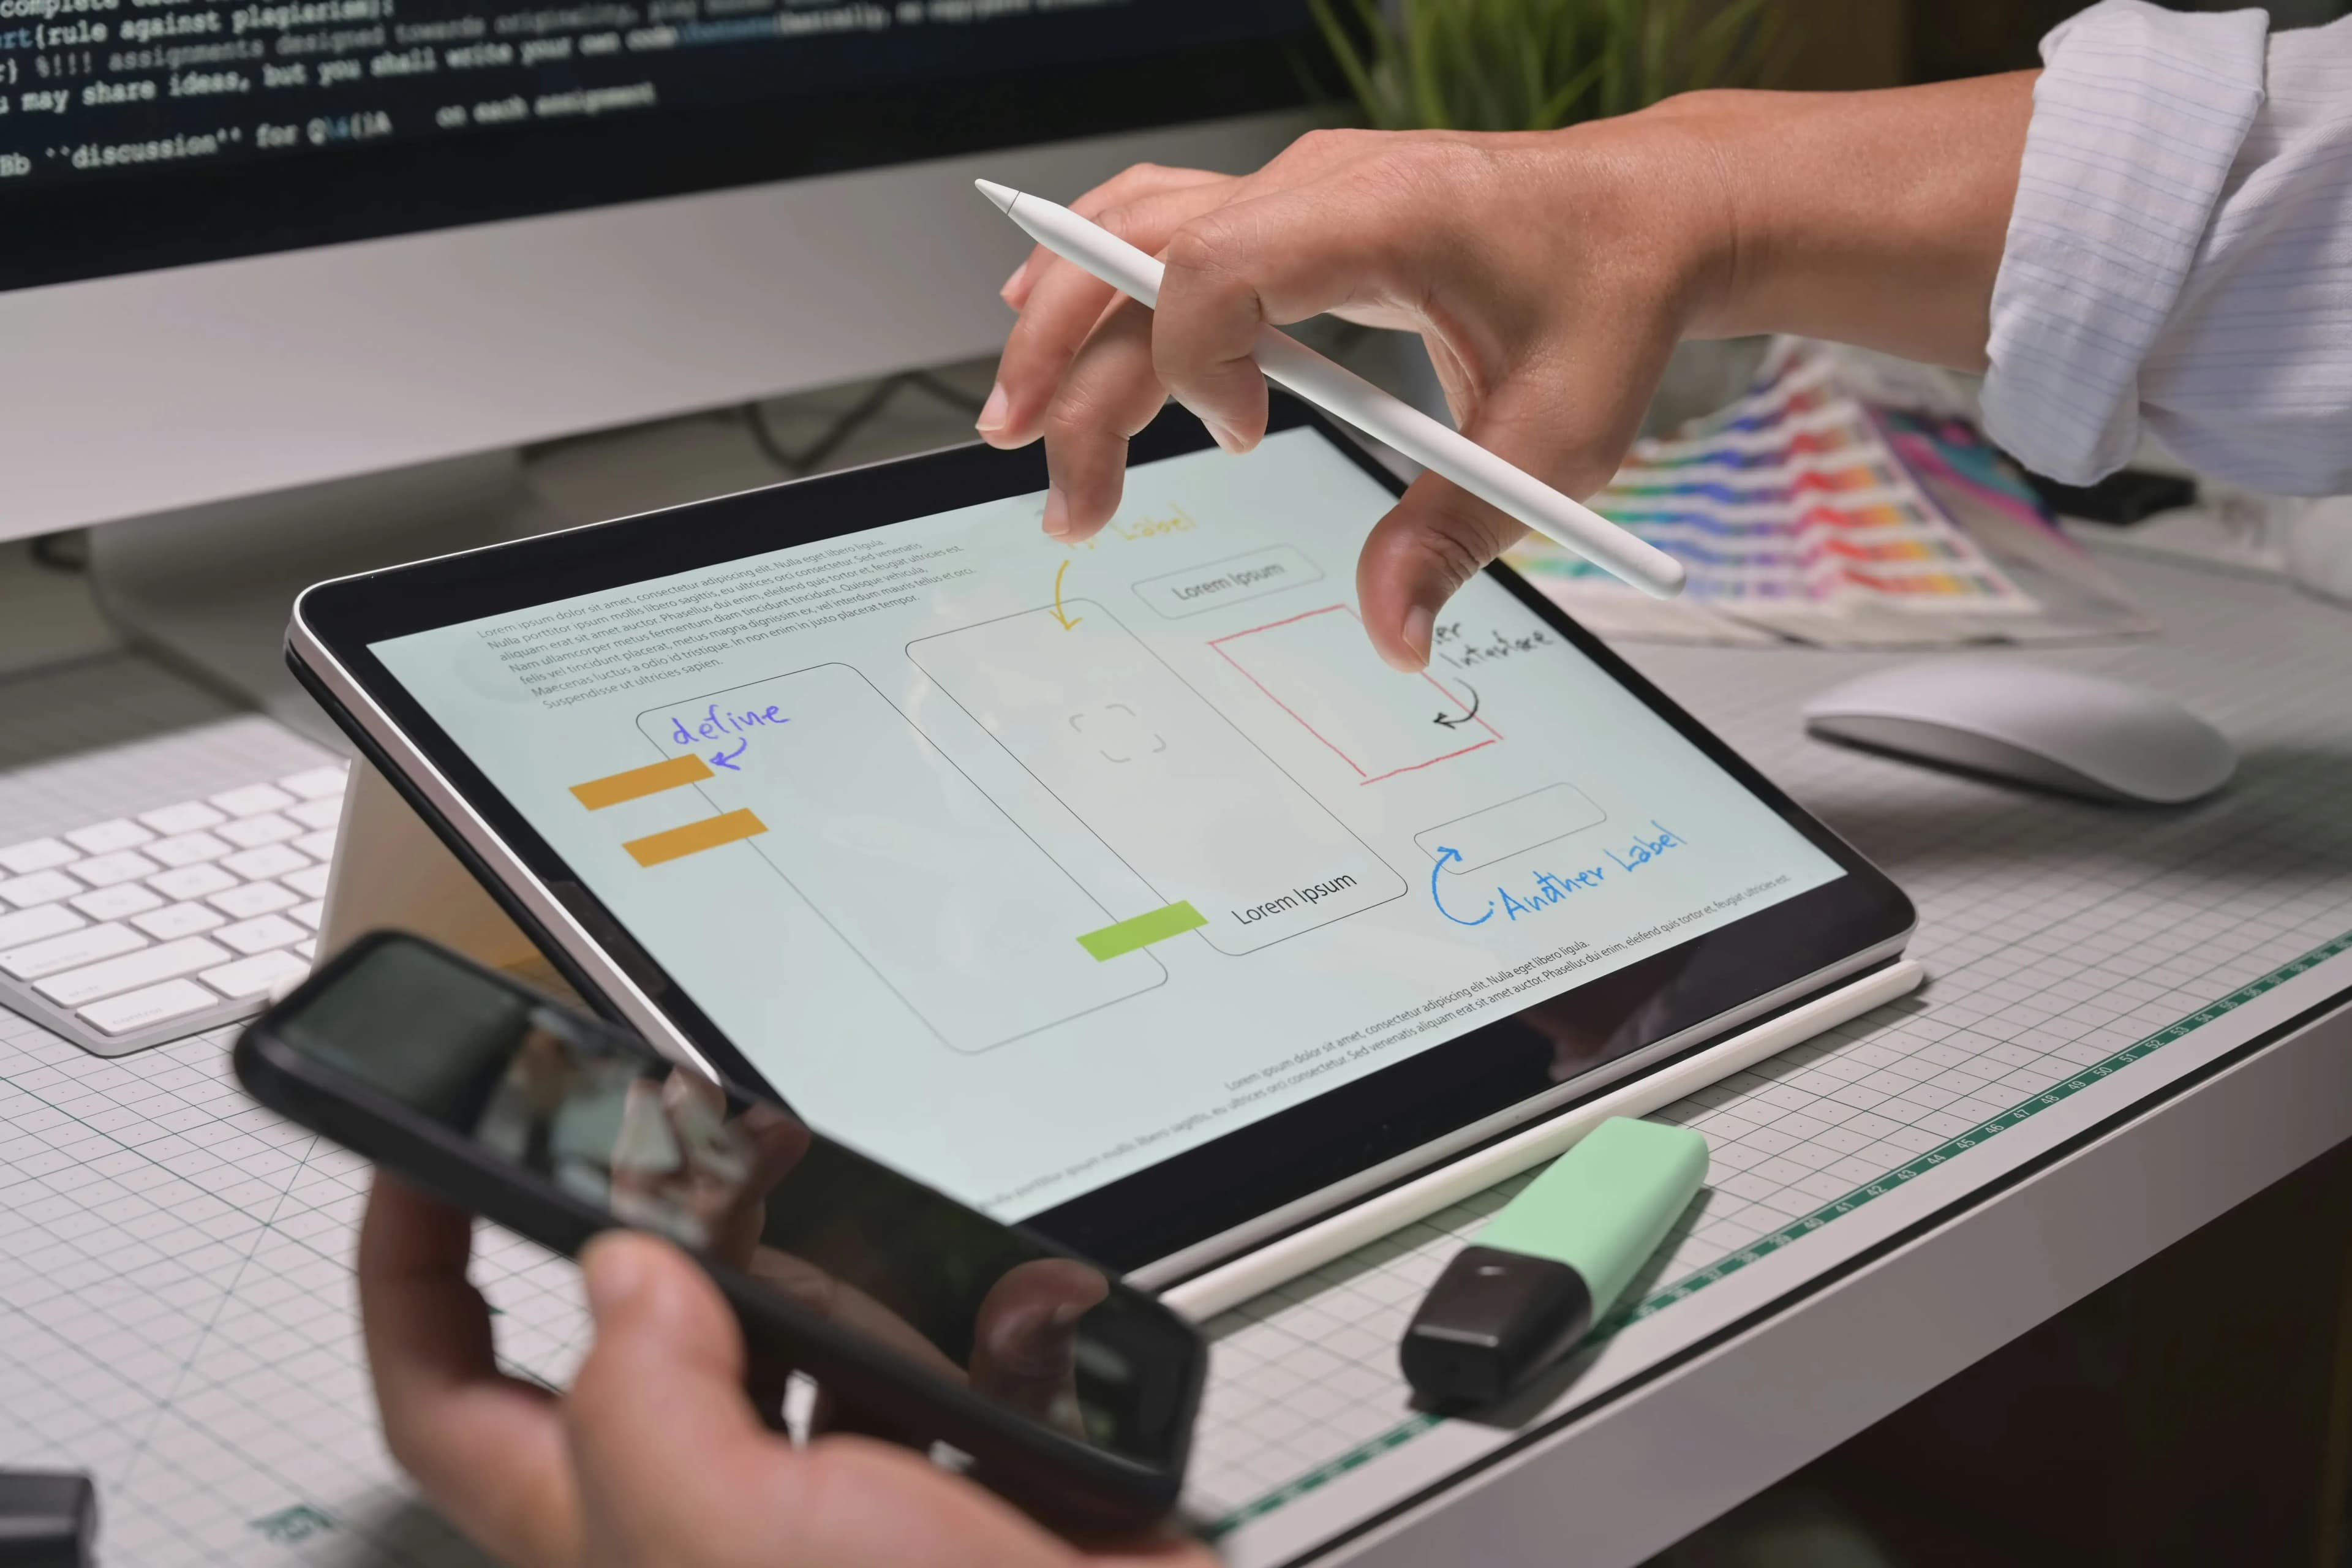
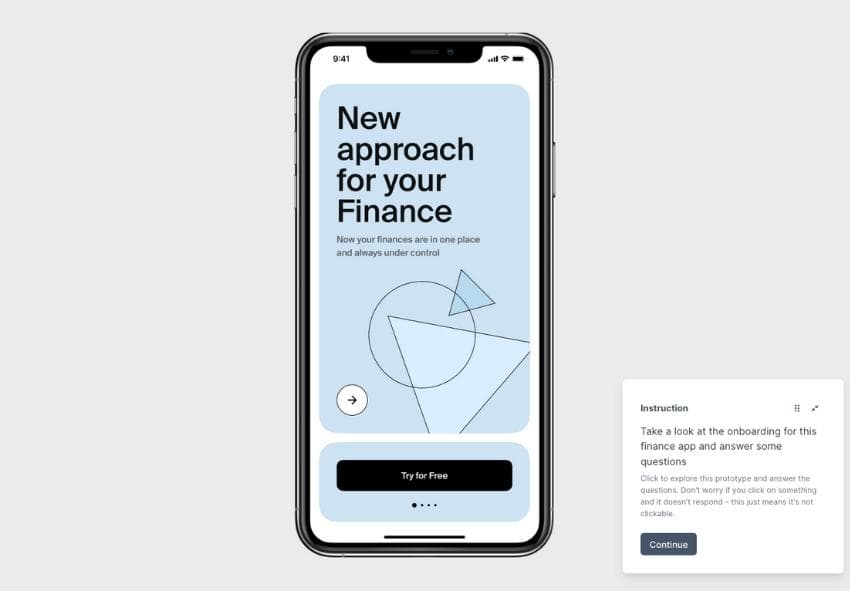
In case you're new to the concept, prototyping refers to building visual and (in later iterations) interactive designs of your product. You can use these prototypes to test visual and functional aspects of your design with potential users, which helps identify issues early in the development process.
But in this guide, we're going to be talking about rapid prototyping, including what it is, different methods, the process, tools, and services available to help you get started.
What is rapid prototyping?
Prototyping is a critical part of the UX design process. With modern prototyping tools available to designers, rapid prototyping has become a go-to strategy for getting a design off the ground.
So what is rapid prototyping? UX designers and UI designers use this type of workflow to test, iterate, and validate product concepts quickly.
Not too long ago, rapid prototyping had a bad rep of only being achievable with very low-fidelity designs — and it originated in the manufacturing industry when manufacturers started making product prototypes with 3D printers.
Quick note: Low-fidelity refers to bare minimum visual details, e.g. boxes and text, demonstrating structure, content, and functionality. In comparison, high-fidelity looks closer to a marketable product with interactivity and animated transitions (if applicable).
But technology moves on, and the UX industry has adopted the ideas from manufacturing and applied them to UX design. Plus, with prototyping software (such as Figma), designers no longer need to sacrifice quality for speed.
Moreover, rapid prototyping is good for spotting early design issues that could save you from losing a customer to a competitor — this is especially important when you consider that in 2024, 46.1% of users uninstalled apps within 30 days of download.
Test your prototypes now
Skip the guesswork. Get real user feedback on your prototypes in minutes with Lyssna's free plan. Start testing today!
Benefits of rapid prototyping
Besides the most obvious benefit of being quicker than traditional methods, rapid prototyping has a few other benefits:
It’s easier and quicker to spot design flaws.
It reduces costs and lowers the risk of potentially lengthy or intensive projects.
Teams can collaborate more frequently between prototype iterations, which leads to better outcomes.
It helps to confirm steps in a user's journey.
With high-fidelity rapid prototyping, you can save your test participants' effort by imagining or interpreting design features.
There's also naturally more user involvement, which leads to a better understanding of realistic user behavior when interacting with the design.
Fast and early prototyping helps identify whether or not your product idea has a viable market and if your idea will meet the needs of that market.
Despite these benefits, rapid prototyping isn't a magical cure for product development. For example, you might test features that don't make it to the final design (which you could view as a waste of time), and designers or developers might get too attached to a design or feature and become biased to keep it around.
When to do rapid prototyping
The simple answer is this: as early as possible. Our article on new product development details the steps to get a new product to market, and suggests prototyping happens right after the idea generation stage.
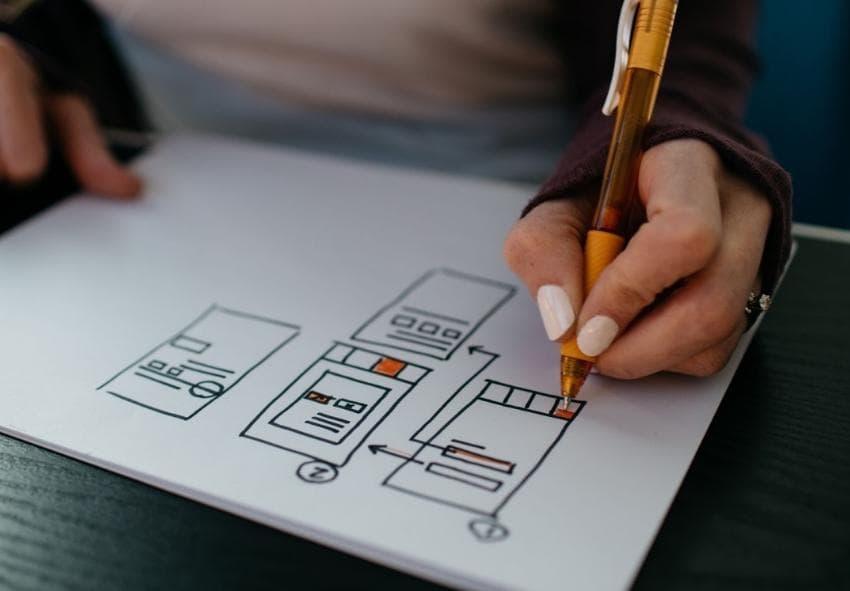
But with rapid prototyping, you can create a low-fidelity design using classic pen and paper or other methods. This allows you to quickly develop a prototype that helps evaluate the selection criteria for advancing an idea in the development process.
Rapid prototyping methods
There are several approaches to rapid prototyping, each suited to different stages of the design process and your research goals. Understanding these methods will help you choose the right approach for your specific needs and timeline.
Low-fidelity prototyping
Low-fidelity prototyping involves creating basic visual representations of your product using minimal details. This method is perfect for the earliest stages of design when you want to focus on structure, content, and basic functionality rather than visual polish.
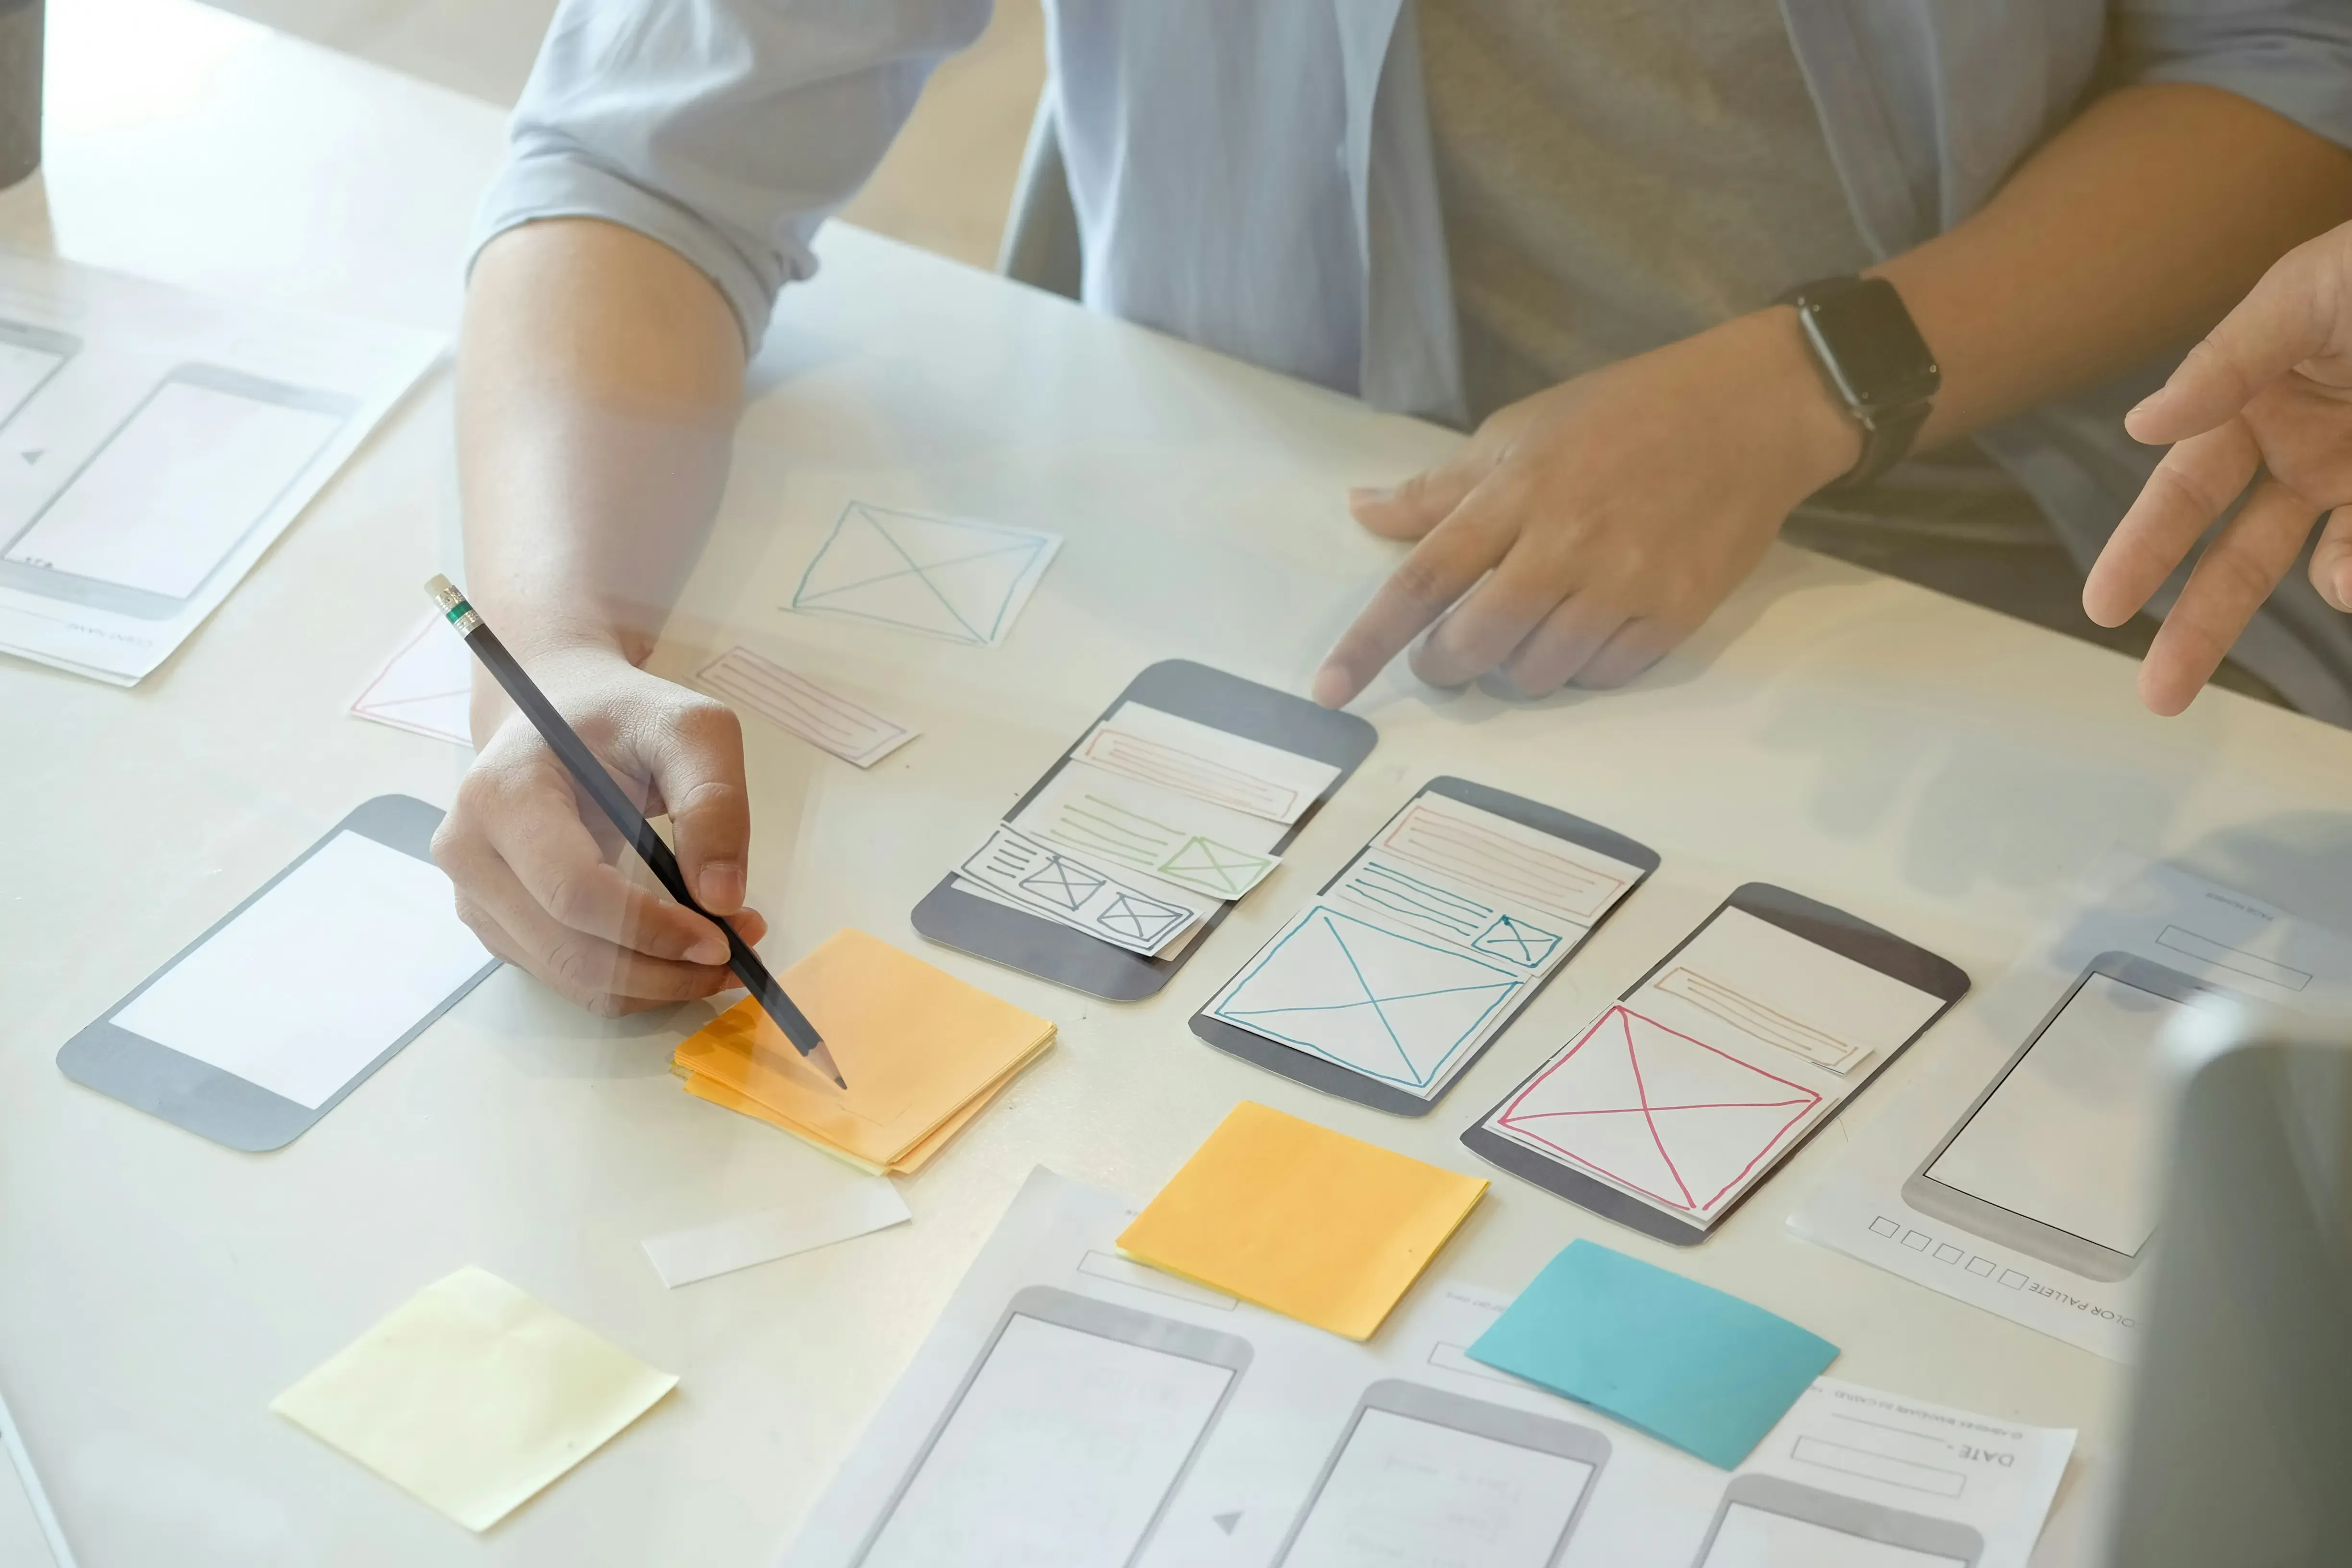
Examples include pen and paper sketches, wireframes, and simple digital mockups that show basic layout and navigation without detailed styling or interactions.
A newer approach gaining popularity is vibe coding – using AI-powered tools like Lovable to quickly build functional prototypes by describing what you want in plain language. This bridges the gap between traditional sketching and high-fidelity prototyping, allowing you to create working prototypes without extensive coding knowledge.
High-fidelity prototyping
High-fidelity prototyping creates designs that closely resemble the final product, including detailed visual elements, interactions, and animations. These prototypes are ideal for user testing as they provide a realistic experience of how the final product will look and behave.
This method works well when you need to test specific interactions, gather detailed feedback on visual design, or present concepts to stakeholders who need to see a polished representation of the final product.
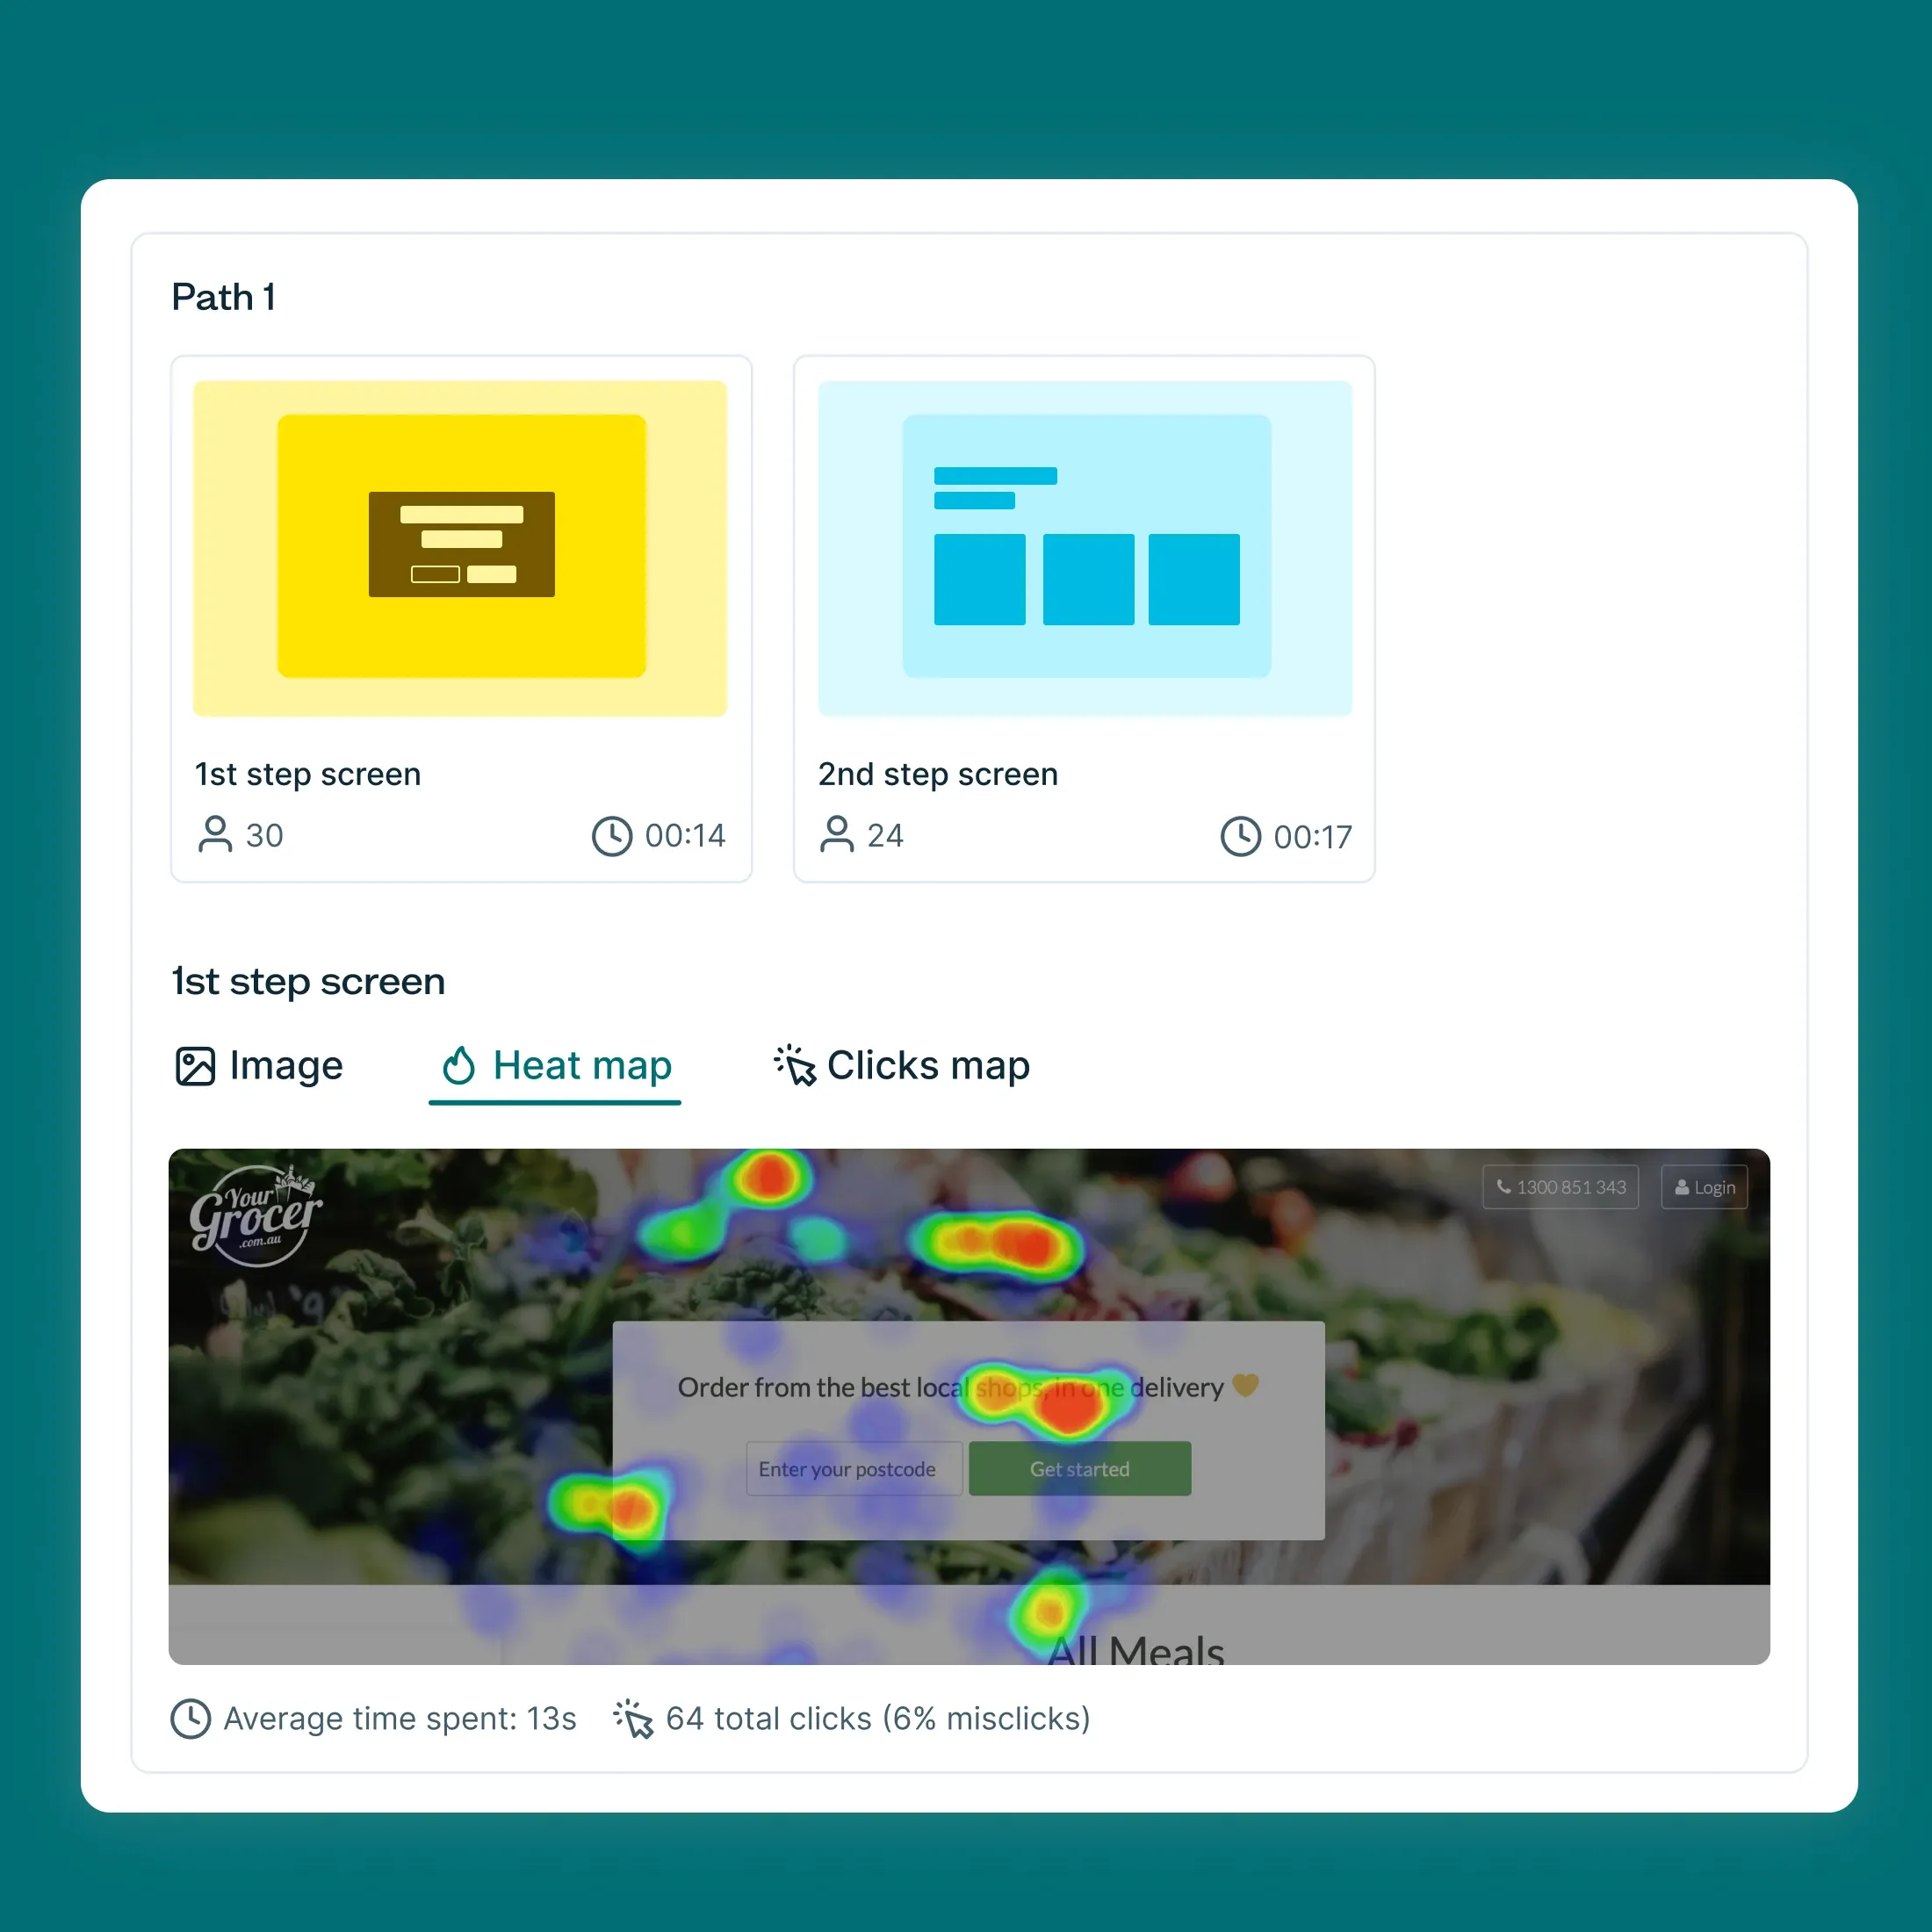
User testing methods
Various testing methods can be used with rapid prototypes, including interviews, focus groups, and scalable questionnaire-style task flows. The key is to match your testing method to your prototype's fidelity and your research goals.
For low-fidelity prototypes, internal testing with team members and stakeholders is often most appropriate, while high-fidelity prototypes can be tested with real users to gather more meaningful feedback about user experience and behavior.

Rapid prototyping process
The steps of rapid prototyping are simple when you think about it: build, test, adjust, repeat. However, as with many multi-step processes, the devil is in the details. So here's a step-by-step guide to help you through a rapid prototyping cycle.
1. Build a prototype
Remember what I said earlier about low-fidelity prototypes? It's okay to start with one of these, or a wireframe, in the earliest stages of the design process, but it's best to only use these sketches internally. So the first rapid prototype cycle will probably only be within your team.
As you move on to higher-fidelity designs, such as Figma prototypes, you can start introducing potential users into the cycle.
2. Test with users, stakeholders, and colleagues
As mentioned in the previous step, you should only test low-fidelity designs like wireframes internally (unless your target audience for testing is UX designers, which can be helpful for external feedback).
From the first higher-fidelity prototype onward, you can start testing with potential product users.
3. Adjust the prototype with a new iteration
After testing your prototype with users and other stakeholders, you'll need to use the feedback you generate from the research to change your design. You know what they say, the first draft is never the last!
Maybe a feature you have in mind doesn't resonate with your target audience or that the user journey needs tweaking based on some confusion users had during your test or interview. Whatever the case, now’s your chance to make improvements.
4. Repeat until you get the final design
Rinse and repeat. After you've prioritized the improvements you need to make, go back to the design board and make changes by cycling back over to the first step of the process.
After several iterations, you'll have a final prototype that’s close to being marketable and can move onto the commercialization stages of your product development process.
Case study: Rapid prototyping in action
I chatted with Anete Lusina, a fellow freelance writing peer, and her friend Gavin Dewhirst, Product Lead at Titan Academy, who have decided to start their journey of building a skincare app.
Their product idea is still in the early stages of development, and they're currently using the rapid prototyping approach to help them bring their vision to life quicker.
Q: What's the context of your idea? Did you experience a gap in the market?
Anete: There are times when you're doing something and think to yourself, “If only I had something that would help me with this,” and suddenly, you spark something that may be more than just a fleeting idea. That's exactly how I started developing the idea for my and Gavin's project.
I did some research and came across tools that partially offer the functions I'm looking for. But I also noticed that many of them lean into features that I would deem unnecessary or not user-friendly.
But, obviously, that's where I hit my first roadblock because I do not know what other people think at this stage, but with Gavin's product experience, I knew there was a way to find that out.
Q: What was your approach to start working on your product idea?
Anete: I started my research and notes based on the belief I had about this product and my experience in the world of skincare. It was important for me to be able to translate my ideas into clear notes that Gavin could read and understand, especially because he is unfamiliar with this world.
I would answer questions like, "Why use the app?", "What is the app NOT about?", "What features do I see as the must-haves, and what features do I envision as nice-to-have?".
From there, it was time for me to start putting together my storyboard to give Gavin clear ideas on how I envision the product so he can provide his technical expertise by turning the ideas into a test product.
Gavin: We then worked together to design a wireframe that would solve her specific idea. This is to make sure we've got a clear vision of what we believe in. Having something to show, go back to, and look at is really important.
This can change as we learn, but we need to know what we believe in. It was time to talk to people who we believed to be in the same situation.
Q: After building out your first storyboard and wireframes, what kind of research or testing did you do?
Anete: We needed to move on to the target audience interviews to not only validate any of the ideas but more to learn about people's current experiences, frustrations, expectations, and desires.
The first step I did was to ask my social media network for volunteers, and much to my surprise, I had plenty of people sign up for a 30-minute interview. I was surprised that some people were so passionate about the topic they reached out to me and were interested in jumping on a call with me.
Gavin: Our long-form exploratory interviews tested broad needs across skincare routines and habits.People who are, or want to be, more mindful of their skin. We didn't want to ask them directly pointed questions; we wanted their skincare stories and frustrations.
In all those conversations and little stories that people tell you, we've now got a fair bit of evidence to back some of our thoughts and assumptions.
Q: So, what are your next steps in your development with all this insight from your interviews?
Gavin: We're now at the point where we revisit our original wireframes and try and work out how much this needs to change based on the feedback we've got and the problems that our users might want fixing for them. We're searching for a strong reason people would want to install and interact with another skincare app unless we're bringing real benefit.
Anete: So far, the two primary product features in the storyboard seemingly fit what users may be looking for, so those remain unchanged. But as Gavin mentioned, we need to revisit the product wireframe because we uncovered several new clusters of information that might inform the current features and the user journey we laid out in the storyboard.
I also realized how the initial story of my user persona didn't take into account enough potential frustrations and time limitations, e.g. users who are busy with everyday life and don't have a lot of time to invest in another app on their phone, so the product needs to be snappy and straight to the point while providing value to the user. I wrote what, in hindsight, was an ideal scenario on how a user may interact with the product, but I now realize that's not the reality, especially if you target busy professionals who have already developed strong routines.
Gavin: We're also going to be showing people our more refined wireframes and getting some early feedback. Once we feel we're getting enough great feedback about our wireframe, we know we can probably call it our MVP and see the quickest way to get this into people's hands to use.
Rapid prototyping tools
At some point, you'll need to move away from whiteboards or pen and paper and bring your design into software. There is a lot to choose from, and here's a non-exhaustive list (all prices are displayed in USD).

For low-fidelity prototyping
Balsamiq: For rough sketching and wireframing, and comes with over 500 icons to help. Pricing starts at $12/month or $144/year.
Procreate: Purely for iPad sketching, but can also be suitable for storyboarding; the price is a $12.99 one-off purchase.
For high-fidelity prototyping
Figma: Works on both Mac and Windows, mainly for creating static designs, but you can also build screen transition functions. Figma comes with a free plan.
Sketch: A UX designer staple, but Mac only. Great for high-quality designs and user journey mapping. Pricing starts at $10/month billed yearly.

For user testing
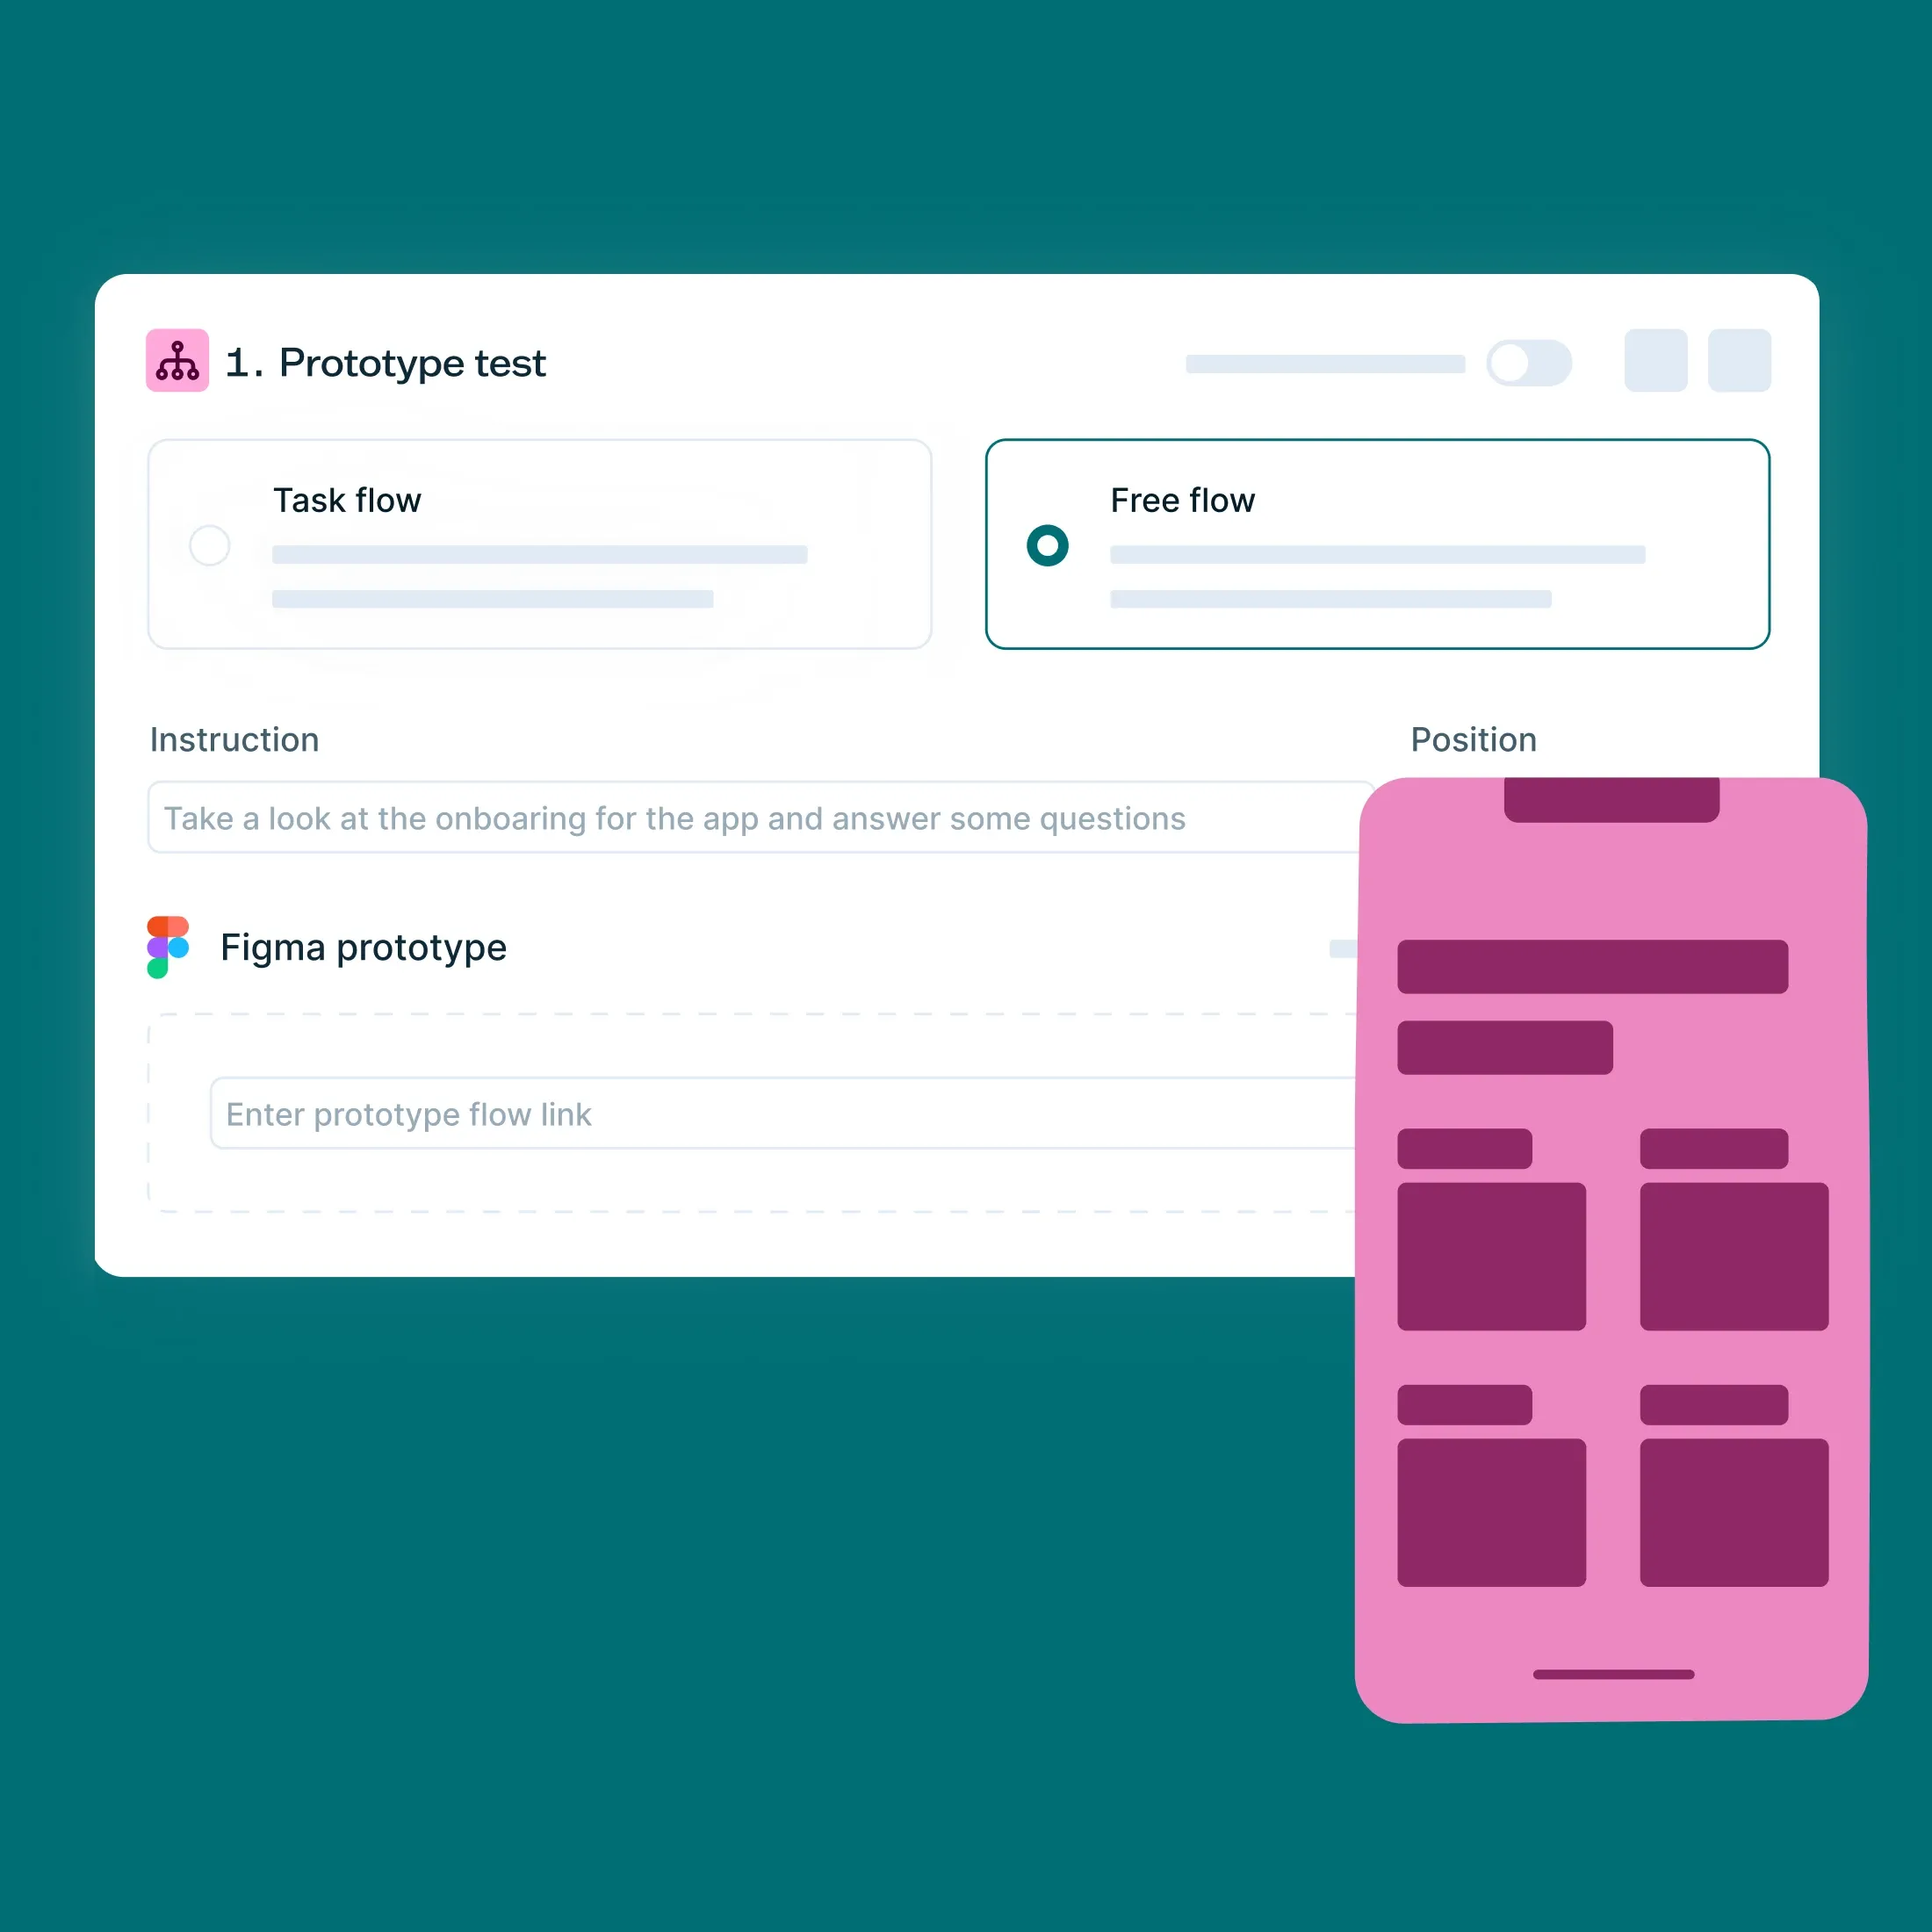
Lyssna: Easily integrates with Figma to get your prototypes in front of real users in minutes, but other tests are available too, such as preference testing, design surveys, and five second testing. It comes with a free plan that includes unlimited active tests.
These tools are enough to get you started, but if you make a habit of rapid prototyping many products or features, you may want to shop around to see what suits your needs best.
Ready to validate your ideas?
Turn your prototypes into user-tested winners. Try Lyssna free and start getting real feedback today!

Alexander Boswell
Technical writer
Alexander Boswell is a product-led content writer and researcher with a background in marketing strategy and consumer behaviour. When he’s not writing, he’s playing baseball and D&D.
You may also like these articles


Try for free today
Join over 320,000+ marketers, designers, researchers, and product leaders who use Lyssna to make data-driven decisions.
No credit card required