11 Jun 2024
|14 min
Minimum viable product
Discover the essential guide to creating a Minimum Viable Product (MVP). Learn how to build, test, and refine your product idea with practical steps and real-world insights.
Imagine this.
You have an idea for an app that you think would be amazing – it addresses a pain point that you've personally experienced and you've got a great vision for it.
A couple of months down the line, you've poured a ton of passion and potential resources into building your product and you're ready to launch it into the world.
Launch day comes (probably on Product Hunt, right?), and you get some interest based on some hype you've gathered promoting the launch. Then?
Crickets.
You might think, "Maybe it was the marketing, I didn't promote it enough." Which could be a fair assessment of the situation, but chances are it was something deeper. Just because your idea feels like an amazing solution to you, it doesn't mean it packs the same punch for your target audience.
If you want to avoid this type of fate, there's a solution for you – the Minimum Viable Product (MVP).
In this quick guide, we'll show you the ropes of the MVP: what it is, the different types, how to build one, and how to test one (with some tips).
What is a minimum viable product (MVP)?
A Minimum Viable Product (MVP) is the basic version of a product that you can use to test product-market fit and usability, attract early adopters, and validate your product idea.
An MVP doesn't only apply to new product development – you can also use it to improve an existing product or add new features.

The core principles of MVP development
There are three core principles (or pillars) of MVP development: build, measure, and learn.
Eric Ries introduced the build, measure, learn (BML) cycle in his book The Lean Startup as a method to help startups bring a product or service to market more quickly and efficiently. It’s also the primary method for rapid prototyping in UX.
Here are the essential points of the BML pillars for MVP development:
Build: You generate some ideas and create a prototype that you can test as early as possible. The point of building at least something right away is to "fail fast, learn fast." In this case, "done" is way better than "perfect."
Measure: Use the prototype to measure against your ideal outcomes. You can use both quantitative and qualitative testing to help get insights and feedback on the design of your idea.
Learn: From there, you analyze the results of the measurement phase to help you figure out the next steps, which will either be: scrap, adapt, or approve.
The BML cycle is the basis of MVP development, and the benefits of taking this approach are significant.
Minimum viable product benefits
Quantifying the benefits of using an MVP approach is a little difficult (no one researches that kind of stuff), so we thought we'd ask a few founders about the benefits they get from developing MVPs.
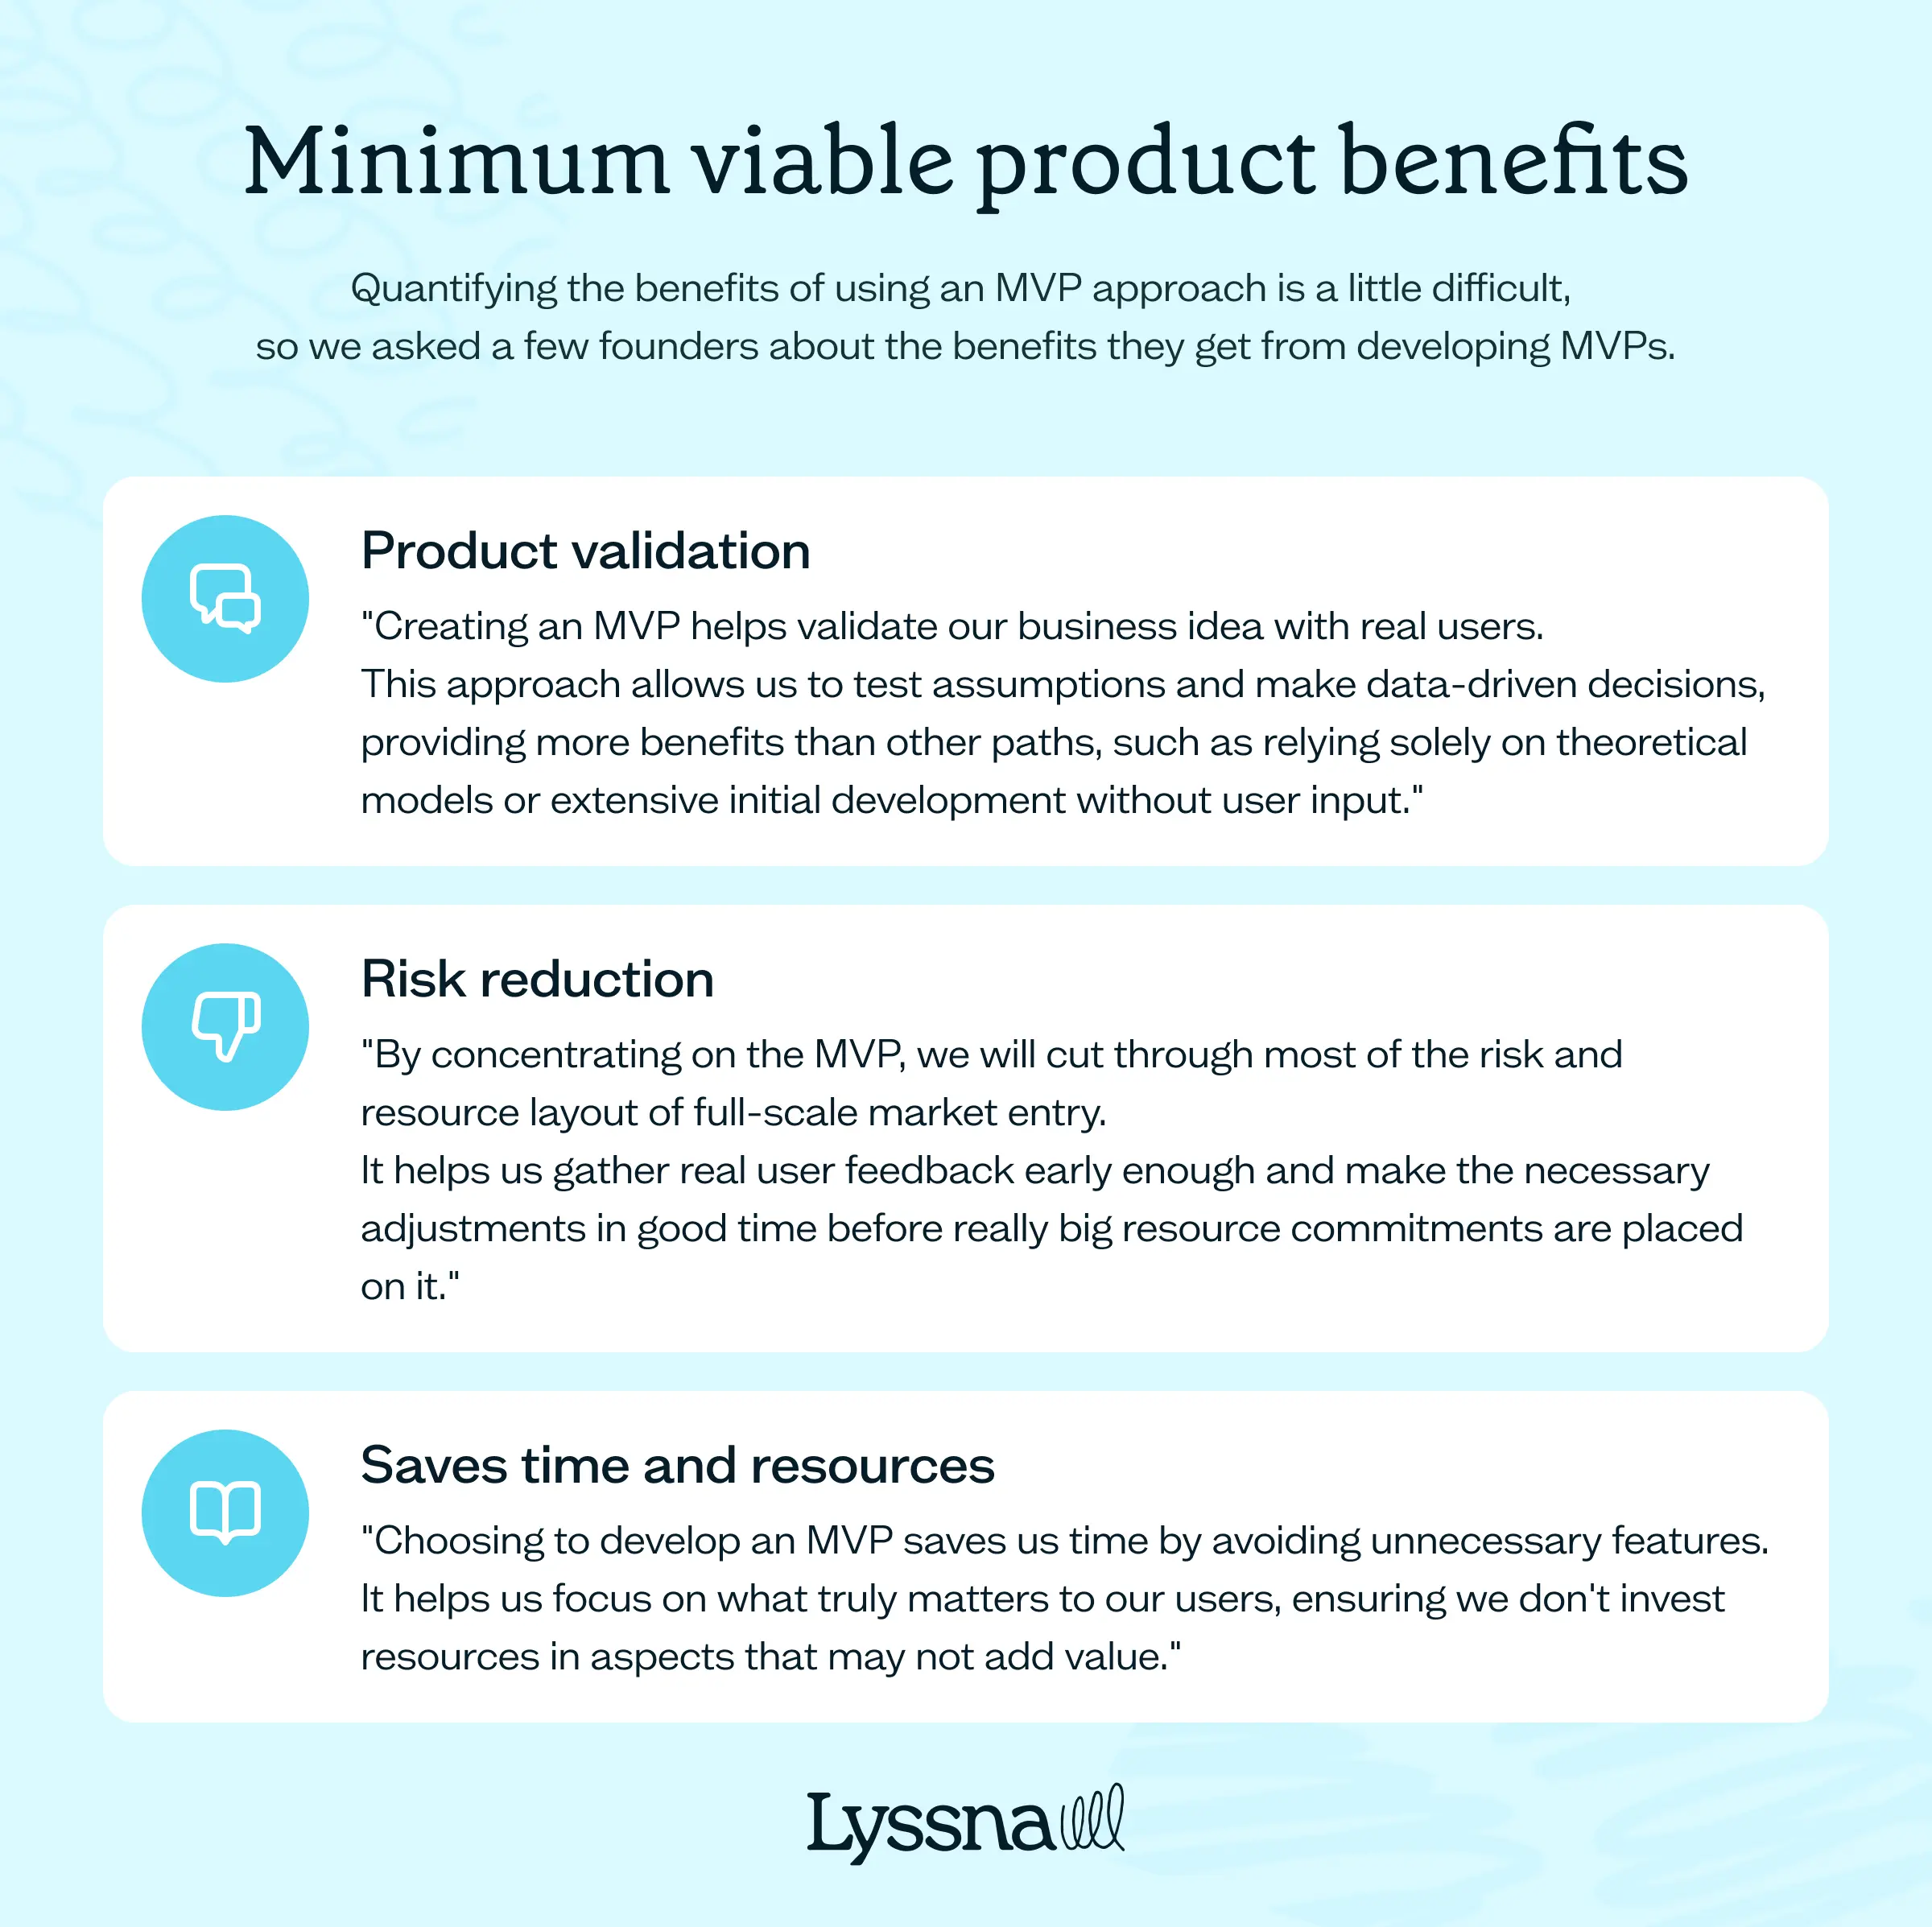
Product validation
By far, the most significant benefit that nearly everyone cited was the ability to validate business ideas, often with real user feedback. For example, Sturgeon Christie, CEO of Second Skin Audio (which sells sound and heat environment control products) said:
"Creating an MVP helps validate our business idea with real users. This approach allows us to test assumptions and make data-driven decisions, providing more benefits than other paths, such as relying solely on theoretical models or extensive initial development without user input."
Risk reduction
As a side effect of product validation, product managers can also significantly reduce the risk of developing a product that ultimately fails. Roman Shauk, Founder and CEO of EducateMe (a course creation and management platform) also mentioned that user feedback not only reduces risk but also helps them make adjustments:
"By concentrating on the minimum viable product, we will cut through most of the risk and resource layout of full-scale market entry. It helps us gather real user feedback early enough and make the necessary adjustments in good time before really big resource commitments are placed on it."
Saves time and resources
Finally, the other most common benefit we found was that, while it may seem like you're spending time and resources on extra steps, developing an MVP saves time and resources for your team.
For example, Pierce Hogan, Owner of Varied Lands (a travel publication) said:
"Choosing to develop an MVP saves us time by avoiding unnecessary features. It helps us focus on what truly matters to our users, ensuring we don't invest resources in aspects that may not add value."
These aren't the only benefits of using an MVP before full product development, but they're certainly the most common and noteworthy.
Types of minimum viable products
While the BML cycle of MVP development sounds fairly straightforward (promise, it's not all that complex), there are a few different types of MVPs that you can test – each under the brackets of low-fidelity prototypes and high-fidelity prototypes.
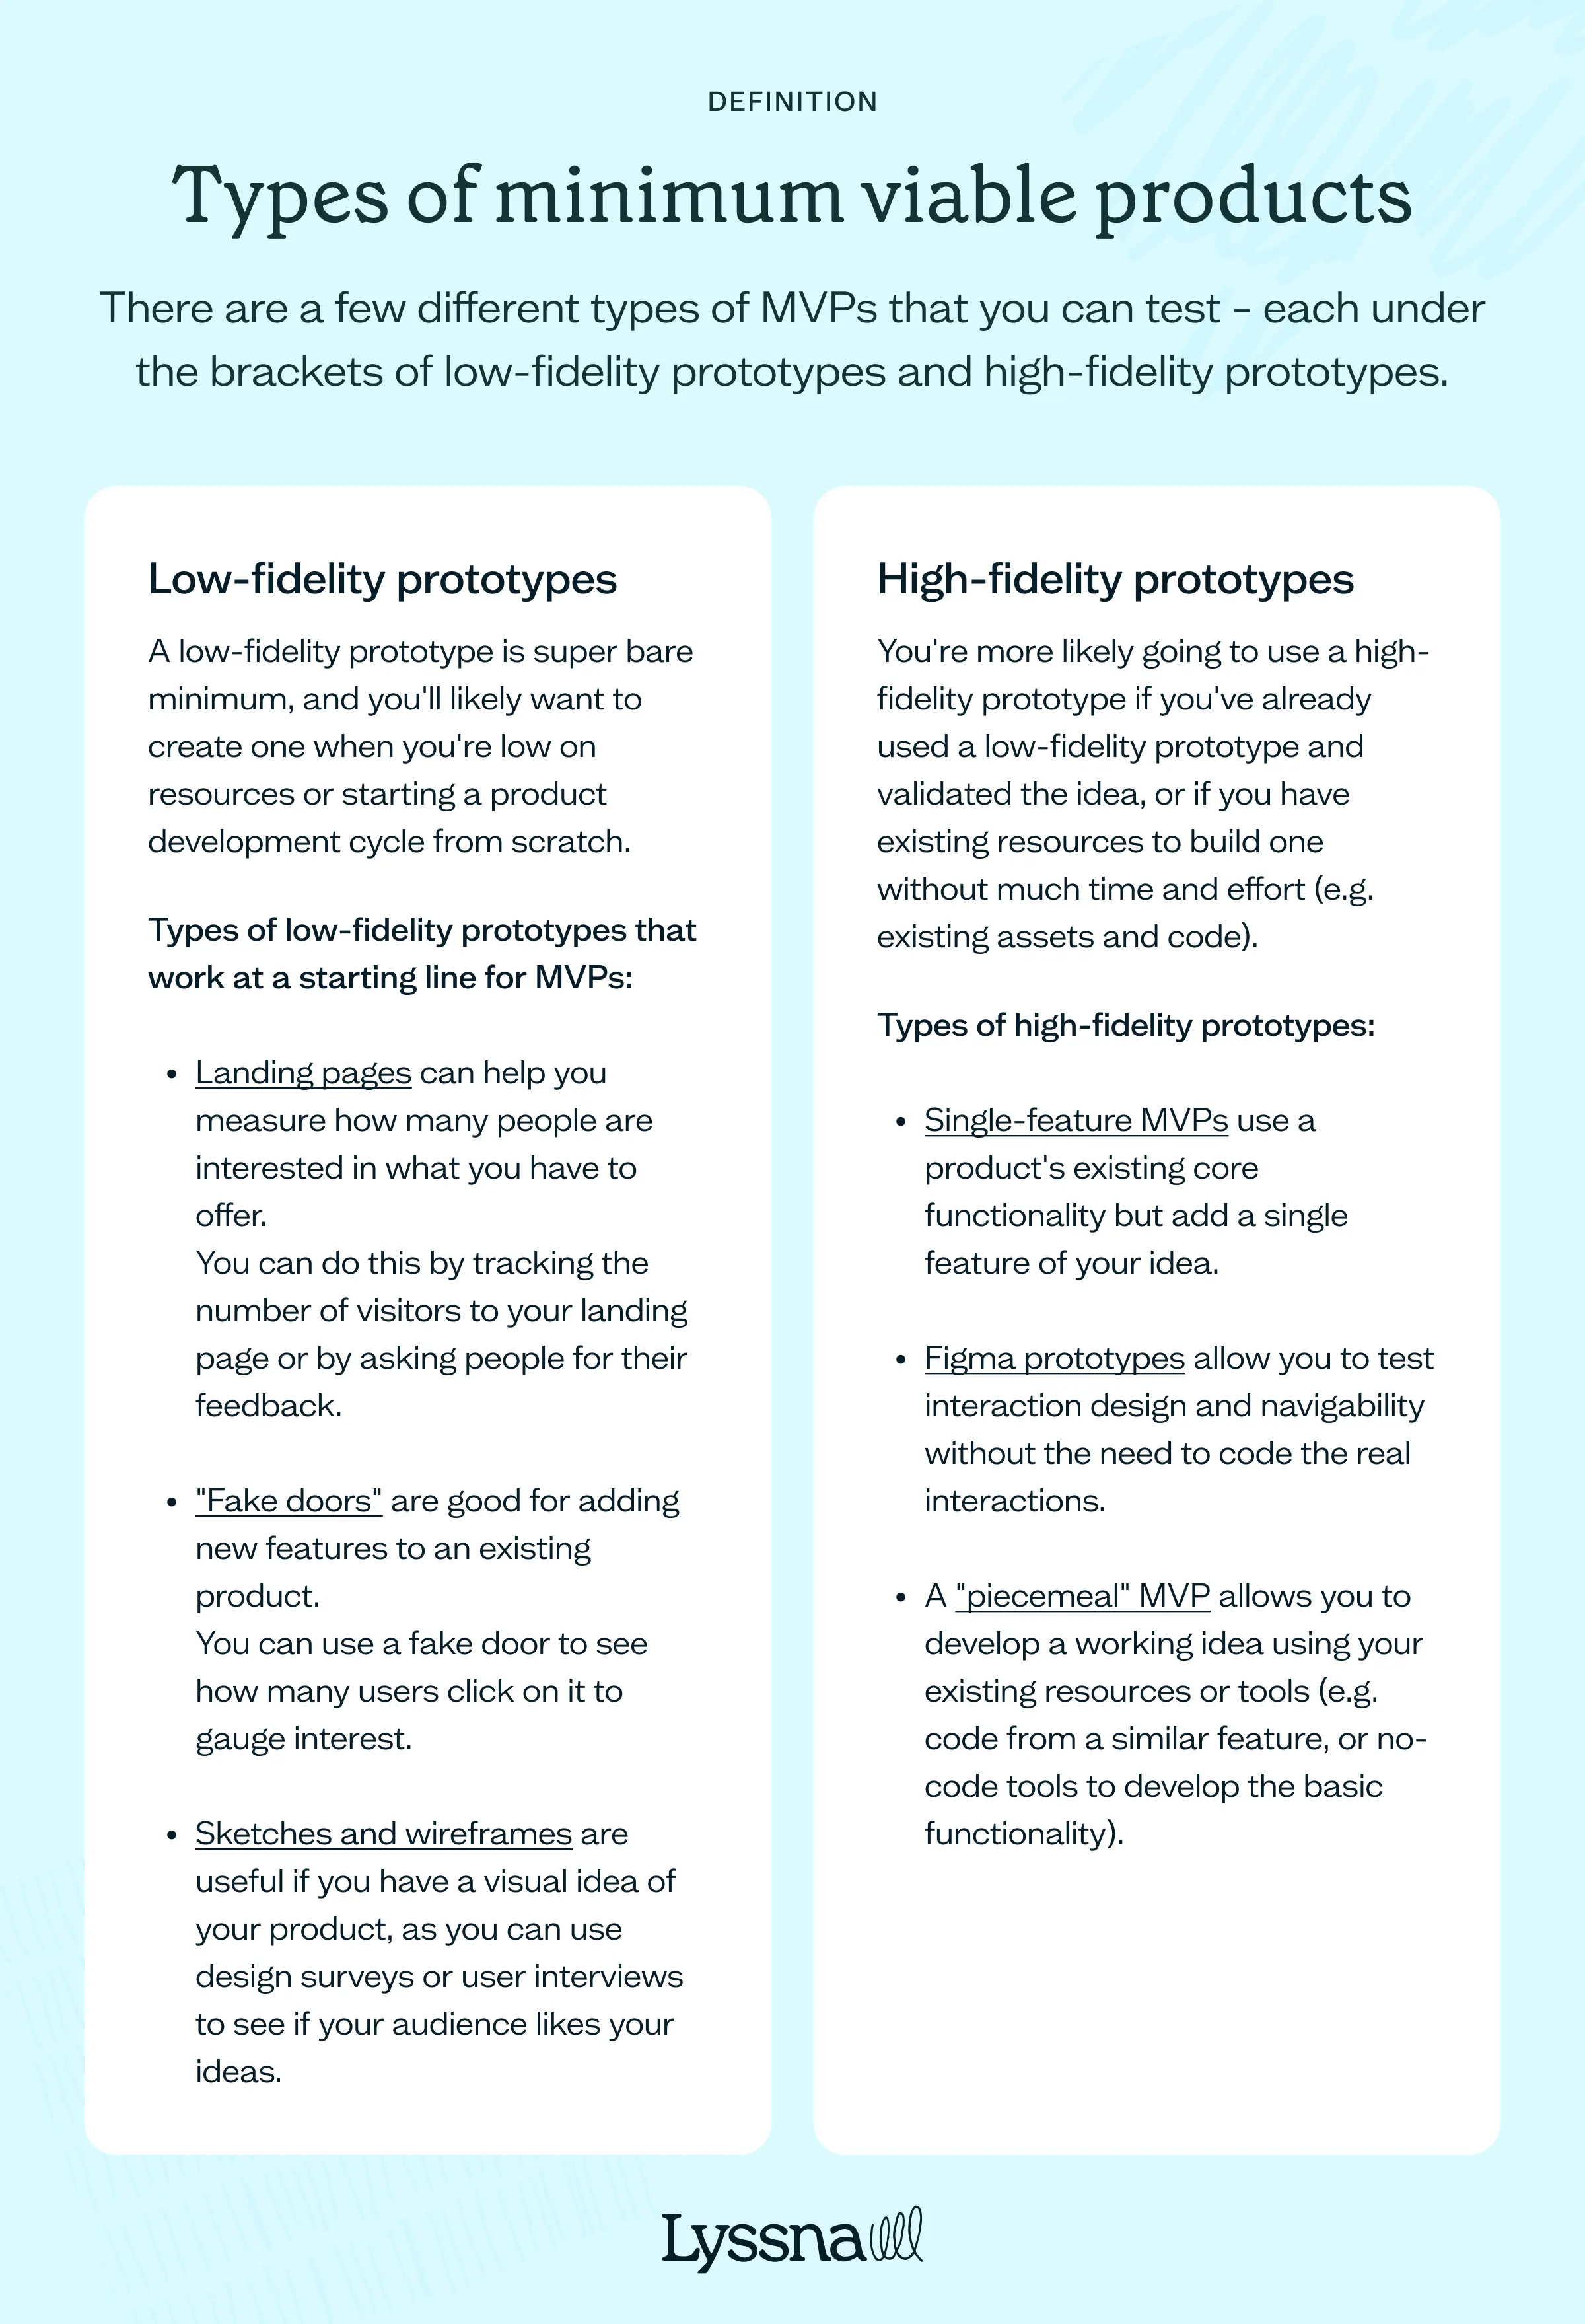
Low-fidelity prototypes
A low-fidelity prototype is super bare minimum, and you'll likely want to create one when you're low on resources or starting a product development cycle from scratch.
With low-fidelity prototypes, your primary goal is to understand the customer's problems and find suitable solutions with simple development, or none at all.
Here are some types of low-fidelity prototypes that work at a starting line for MVPs:
Landing pages can help you measure how many people are interested in what you have to offer. You can do this by tracking the number of visitors to your landing page or by asking people for their feedback.
"Fake doors" are good for adding new features to an existing product. You can use a fake door to see how many users click on it to gauge interest.
Sketches and wireframes are useful if you have a visual idea of your product, as you can use design surveys or user interviews to see if your audience likes your ideas.
These are all great options to try without breaking the bank and spending a ton of time on them. If you validate your idea with any of the low-fidelity methods, you can move onto a high-fidelity prototype.
High-fidelity prototypes
You're more likely going to use a high-fidelity prototype if you've already used a low-fidelity prototype and validated the idea, or if you have existing resources to build one without much time and effort (e.g. existing assets and code). Here are a few examples of a high-fidelity prototype:
Single-feature MVPs use a product's existing core functionality but add a single feature of your idea.
Figma prototypes allow you to test interaction design and navigability without the need to code the real interactions.
A "piecemeal" MVP allows you to develop a working idea using your existing resources or tools (e.g. code from a similar feature, or no-code tools to develop the basic functionality).
These aren't exhaustive lists of what kind of MVPs you can make, but they're the most common, and often the most useful.

How to build a minimum viable product
Here, we'll take you through the practical steps of developing an MVP. But before you start getting your hands dirty, there's one thing you need to do first – define your goals and success metrics.
Defining your MVP goals and success metrics
Obviously, we're not saying you’d get into developing an MVP for the sake of it – you likely have a goal, like "find out if our customers will use X product/feature," right?
The problem with this goal is that it's not specific enough. Much like the JTBD (jobs-to-be-done) framework, you want your MVP to help customers get their jobs done. So, when thinking about goal setting, keep your customer's JTBD in mind, e.g. "find out if developing product X will help our customers/audience complete Y task(s) efficiently."
With a goal in mind, you'll also want to determine what success looks like. Is it a specific type of engagement? A percentage of positive feedback? Or a threshold of completed tasks?
Without success metrics to measure, you won't know if your MVP works according to your goals.
Building an MVP step-by-step
Through the insights we gathered from experts (including the folks we quoted above), we've found four distinct phases of MVP development – the same as the BML cycle, with an extra research step at the beginning.
Step 1: Research
To understand what solutions your audience wants/needs, you need to know who they are, what their pain points are, and the competitive landscape that surrounds your product idea.
For this stage, you can undergo a period of quantitative or qualitative research. For example, Sturgeon Christie mentions they typically start with journey mapping:
"Our blueprint for fabricating MVPs starts with user journey mapping. We map out the user experience to identify critical touchpoints and understand the user's needs and pain points."
The user research you gather can internally validate product ideas for the next phase, i.e. if your research indicates an idea is a viable option.
Step 2: Build
Now we start the BML cycle. As mentioned previously, depending on your resources, you'll choose to start with either a low-fidelity prototype or a high-fidelity prototype, and there are plenty of prototyping tools to choose from.
At Lyssna, we typically recommend Figma for most kinds of UX prototyping, as you can use it to create simple wireframes all the way up to multi-screen interactive prototypes, and you can integrate your Figma prototypes with Lyssna. However, Sketch and InVision are also popular choices.
Remember to stick to the core idea of "minimum." It's easy to get sidetracked when building solutions by adding extras. Done is better than perfect.
Step 3: Test and measure
Usability and prototype testing with your target users/customers is a crucial part of developing your MVP, as it's the only way to get the reality check of whether your idea works for your audience. This way, you can make data-based decisions without relying on a hunch.
Go back to your goals and success metrics. With those in mind, you'll have a better idea of what kind of tests to use on your MVP prototype. Since MVP testing is largely goal-dependent, the experts we spoke to had a mix of preferences for testing.
For example, Tim White from Milepro primarily uses user interviews, while Roman Shauk mentioned building interactive "closed beta" prototypes for general usability, flow testing, and feedback.
However, other testing methods mentioned included focus groups, surveys, analytics testing (e.g. heatmaps and user interaction), and selective "live launches" (similar to how Google rolls out changes to small percentages of users at a time).
Step 4: Learn
As mentioned when we covered the BML cycle, the last step is "learn". Here, you take all the insights you gathered from your test and compare them against your success metrics.
Remember what we said about "scrap, adapt, or approve"? Your level of success will help you decide which action to take. If your tests suggest that the prototype wasn't at all successful, you can go ahead and scrap the idea and move on to another one.
However, if there was some success, you can go back to the build phase and adapt your existing prototype using the insights you gathered and retest (this is the most common outcome).
Lastly, if your prototype is hugely successful, you can approve the design and move on to full-scale development of a final product.
Tips for MVP testing and iteration
Before you go away with your MVP ideas, here are a few quick tips for helping you get the most out of the process:
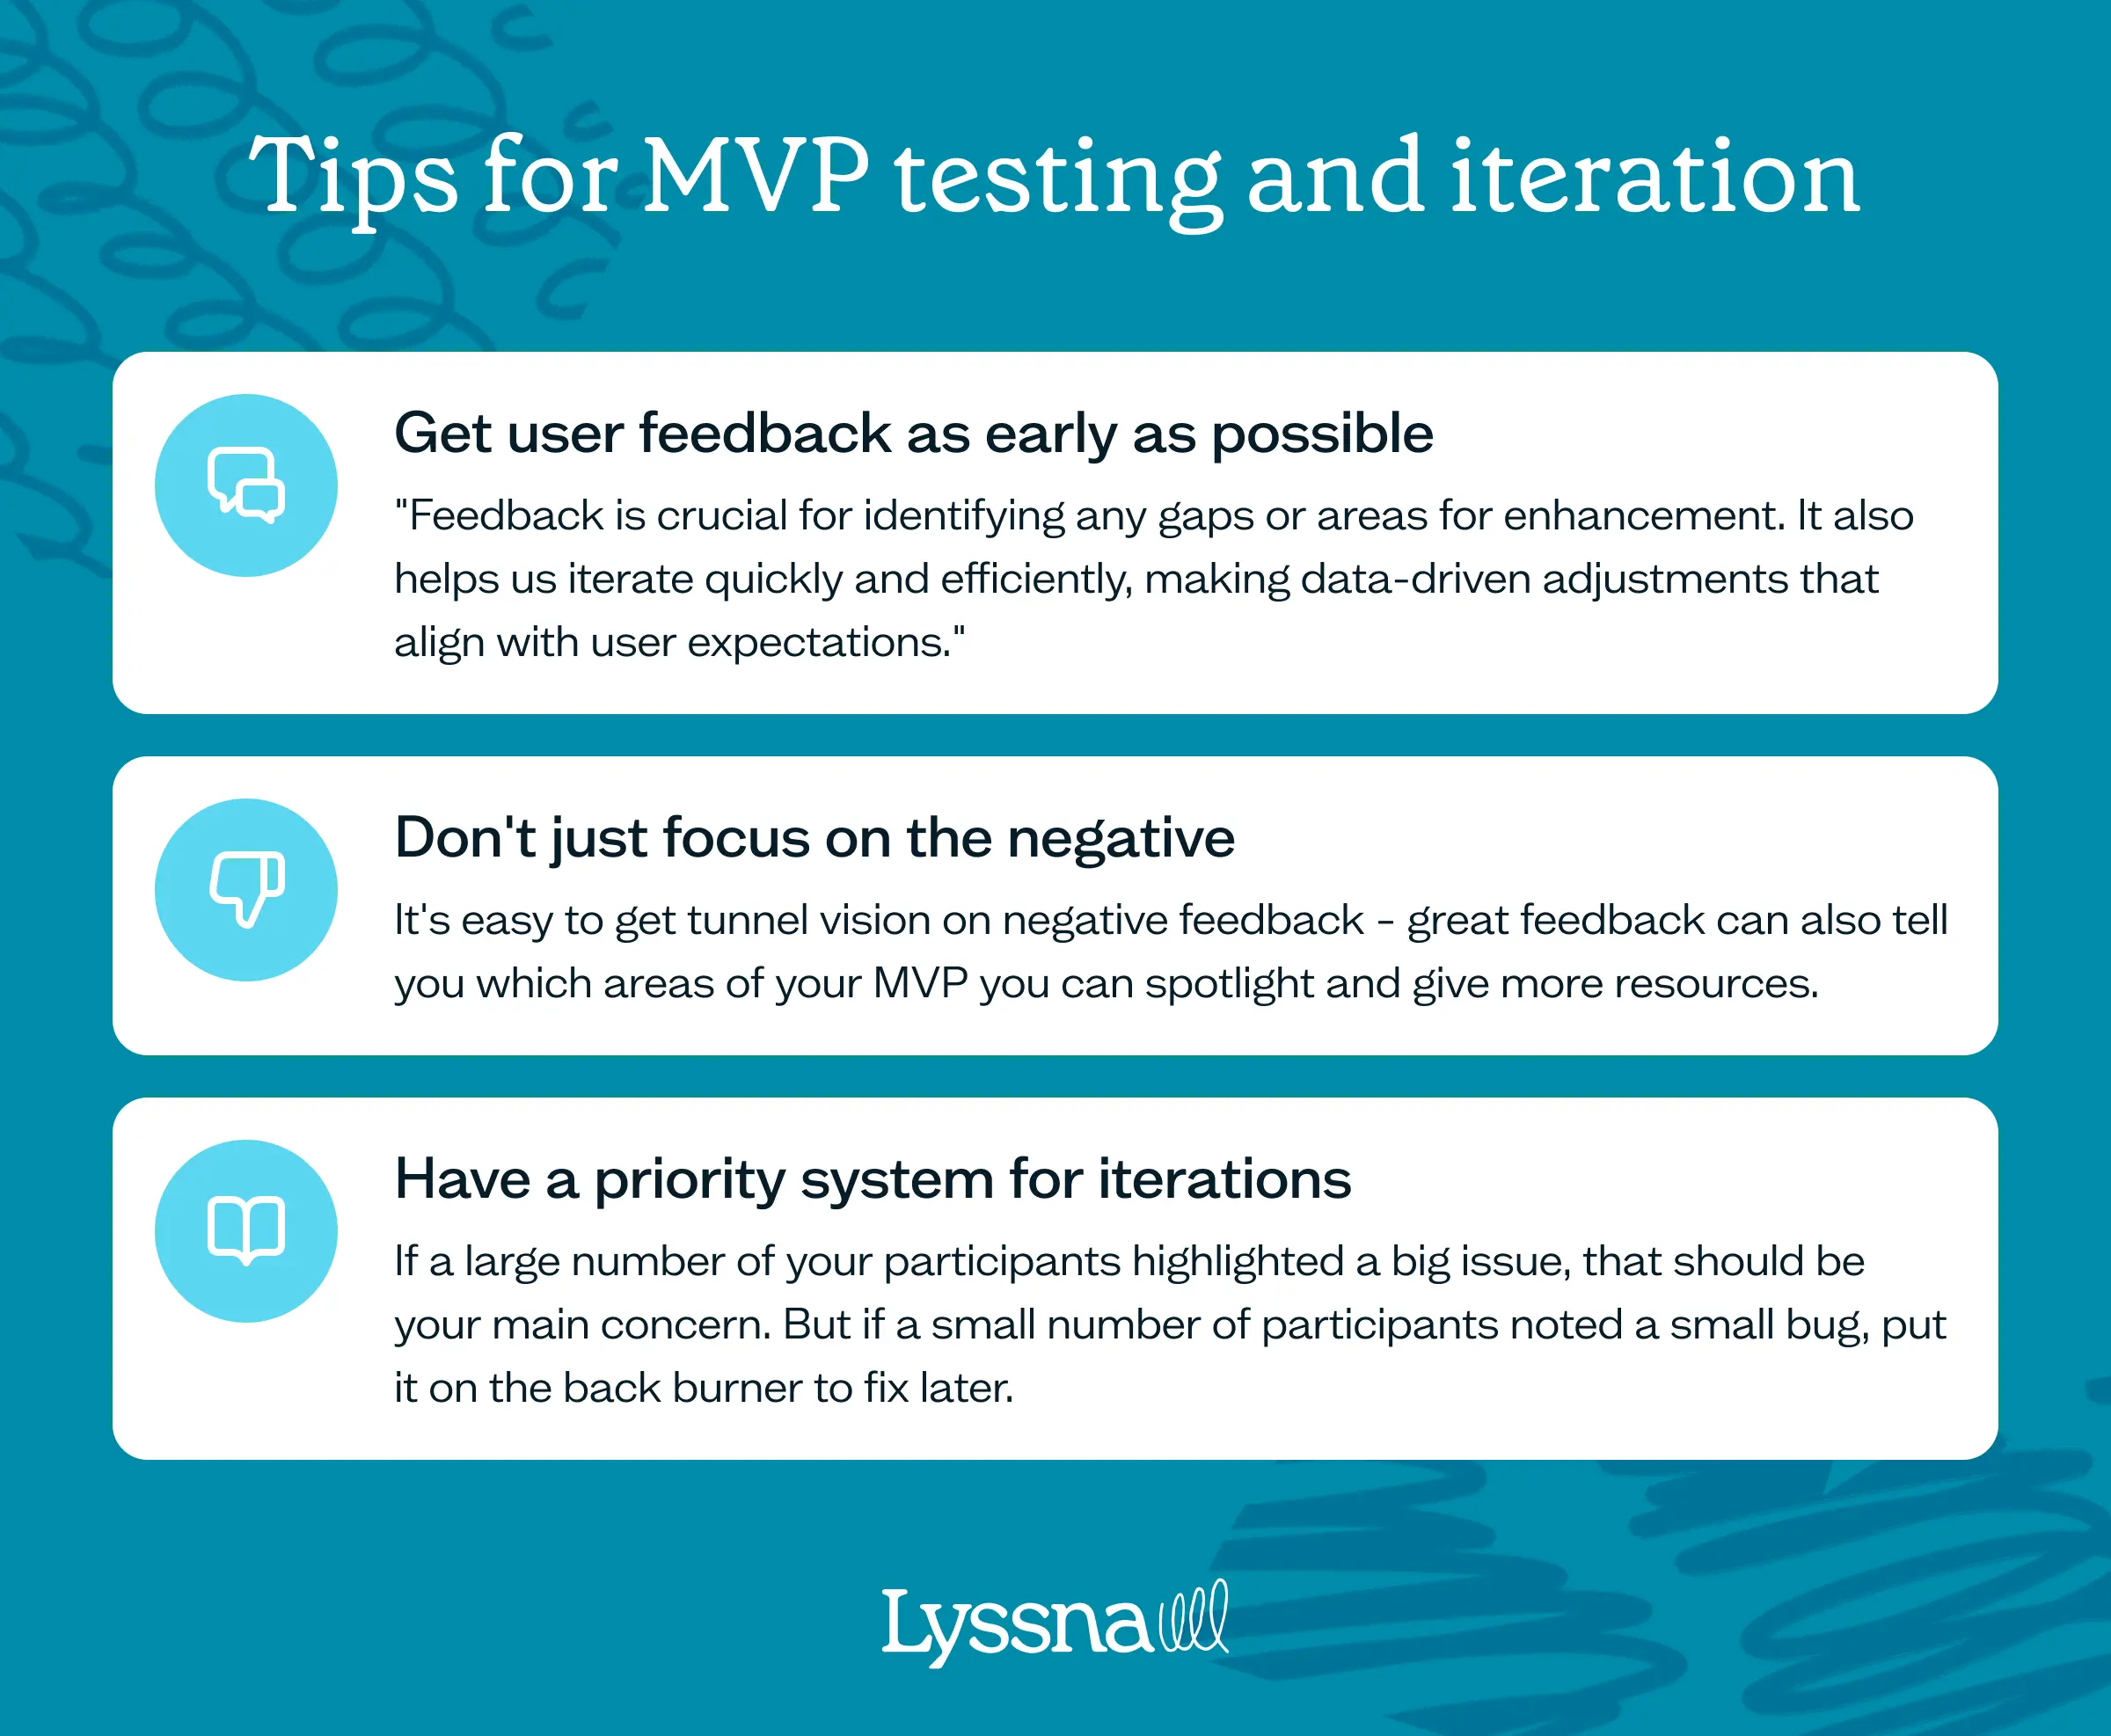
Get user feedback as early as possible. You'd be surprised at the kind of insights you can gather that will help speed up your development process. Sturgeon mentioned, "Feedback is crucial for identifying any gaps or areas for enhancement. It also helps us iterate quickly and efficiently, making data-driven adjustments that align with user expectations."
Don't just focus on the negative. It's easy to get tunnel vision on negative feedback – great feedback can also tell you which areas of your MVP you can spotlight and give more resources.
Have a priority system for iterations. Some issues are more important than others. If a large number of your participants highlighted a big issue, that should be your main concern. But if a small number of participants noted a small bug, put it on the back burner to fix later.
Test your MVP with Lyssna
By this point, you'll have a good understanding of why MVPs are important for product development and the approaches you can take to tailor an MVP specific to your business's needs.
Throughout the process of MVP development, Lyssna can support you by being a single source of truth for your customer research as well as your prototype and remote usability testing.
Lyssna's suite of testing methods will help you assess the usability and user experience of your prototype by gathering insights from real users – what's more, the platform also supports the iterative process by facilitating continuous feedback collection and analysis.
Whenever you're ready to start testing, Lyssna will be ready for you. Sign up for a free Lyssna plan to get your MVP moving.

Alexander Boswell
Technical writer
Alexander Boswell is a product-led content writer and researcher with a background in marketing strategy and consumer behaviour. When he’s not writing, he’s playing baseball and D&D.
You may also like these articles